Pushing and Pulling film is the process by which a particular film is shot at a different ISO (or ASA) setting then recommended by the manufacturer. There is a great deal of science that goes behind the making of film and I do not pretend to understand any of it. I have however, discovered that a little understanding will help explain what you do, why you do it and what the outcome is likely to look like. So lets dig in.....
Film is essentially a thin plastic strip that is coated on both sides with different chemicals. On one side, the shiny side, there are a variety of possible chemicals to help in the handling of the film through the manufacturing process. Essentially it is designed to help the film travel through the various machines used in making film. The other side, the matte side, is the one we are most interested in.
Essentially it is a gelatin substance that we will call jello. I like to call complicated things with simple names as it makes the entire process more approachable. So within this jello, is silver-halide crystals which are light sensitive. Essentially the break down when exposed to the energy in light. This makes them look like black specks. Now this would make for a sad image so there are a variety of chemicals mixed while the crystals are being made to make them more or less light sensitive. This increases their color range (originally they only react to blue light) and it changes how reactive they are.
Ok so we have a plastic film with jello and the silver-halide crystals mixed in along with some magic stuff that makes the crystals more or less sensitive. This is how different ISO or ASA films are made. We load this magic film into a camera and expose it to light based on the following parameters....
Once the film is exposed we then have to develop the film. We follow the recommended timings of the manufacturer of the film to be able to get a properly exposed image. If we change the time in the various chemicals we will not be developing the film properly and it can turn out under or over exposed.
But what happens if we are bad...What if we say to heck with the rules? Just like Frankie said....I want to do it MY way! So I will ignore what the film manufacturer tells me, he is the "MAN" after all...and I will expose that box of 400iso film as if it was really an 800iso. So when I take my light meter, instead of telling it that I am shooting 400 I tell it I am shooting 800. I then follow its recommendations for a proper exposure.
This is fine HOWEVER if I develop normally I will have an UNDEREXPOSED image. Since the light meter thought I was shooting 800iso, it reduced the amount of light recommended. So I need to do something different with the film when I develop it. I need to leave it in the developer for a longer period of time. How long? It depends but fortunately others have discovered this for us.
There are a variety of reference material you could use to select your development times however I have been using the "Massive Development Chart" for several years on my iPhone. You can look into it HERE. It works very well and the application is wonderful to remind me when I should agitate and when to add the various chemicals needed.
I should warn you that when I began developing I was extremely careful. I made sure all my chemicals were exactly 20deg C, that the mixtures were perfect and used distilled water to make the chemicals up. I have now changed completely. Photography is an art and there is no need to bring that level of exact control to your art. I now use tap water, get the developer at 20 deg C and get the STOP bath and Fixer more or less right. My times are never perfect. It is more like making a lasagna then a true chemical mixture!
Film is essentially a thin plastic strip that is coated on both sides with different chemicals. On one side, the shiny side, there are a variety of possible chemicals to help in the handling of the film through the manufacturing process. Essentially it is designed to help the film travel through the various machines used in making film. The other side, the matte side, is the one we are most interested in.
Essentially it is a gelatin substance that we will call jello. I like to call complicated things with simple names as it makes the entire process more approachable. So within this jello, is silver-halide crystals which are light sensitive. Essentially the break down when exposed to the energy in light. This makes them look like black specks. Now this would make for a sad image so there are a variety of chemicals mixed while the crystals are being made to make them more or less light sensitive. This increases their color range (originally they only react to blue light) and it changes how reactive they are.
Ok so we have a plastic film with jello and the silver-halide crystals mixed in along with some magic stuff that makes the crystals more or less sensitive. This is how different ISO or ASA films are made. We load this magic film into a camera and expose it to light based on the following parameters....
- Shutter Speed, the faster the shutter the less light there is.
- Aperture, the wider the aperture the more light that is let in.
- Film ISO, the more sensitive the less light that is needed.
Once the film is exposed we then have to develop the film. We follow the recommended timings of the manufacturer of the film to be able to get a properly exposed image. If we change the time in the various chemicals we will not be developing the film properly and it can turn out under or over exposed.
But what happens if we are bad...What if we say to heck with the rules? Just like Frankie said....I want to do it MY way! So I will ignore what the film manufacturer tells me, he is the "MAN" after all...and I will expose that box of 400iso film as if it was really an 800iso. So when I take my light meter, instead of telling it that I am shooting 400 I tell it I am shooting 800. I then follow its recommendations for a proper exposure.
This is fine HOWEVER if I develop normally I will have an UNDEREXPOSED image. Since the light meter thought I was shooting 800iso, it reduced the amount of light recommended. So I need to do something different with the film when I develop it. I need to leave it in the developer for a longer period of time. How long? It depends but fortunately others have discovered this for us.
There are a variety of reference material you could use to select your development times however I have been using the "Massive Development Chart" for several years on my iPhone. You can look into it HERE. It works very well and the application is wonderful to remind me when I should agitate and when to add the various chemicals needed.
I should warn you that when I began developing I was extremely careful. I made sure all my chemicals were exactly 20deg C, that the mixtures were perfect and used distilled water to make the chemicals up. I have now changed completely. Photography is an art and there is no need to bring that level of exact control to your art. I now use tap water, get the developer at 20 deg C and get the STOP bath and Fixer more or less right. My times are never perfect. It is more like making a lasagna then a true chemical mixture!
|
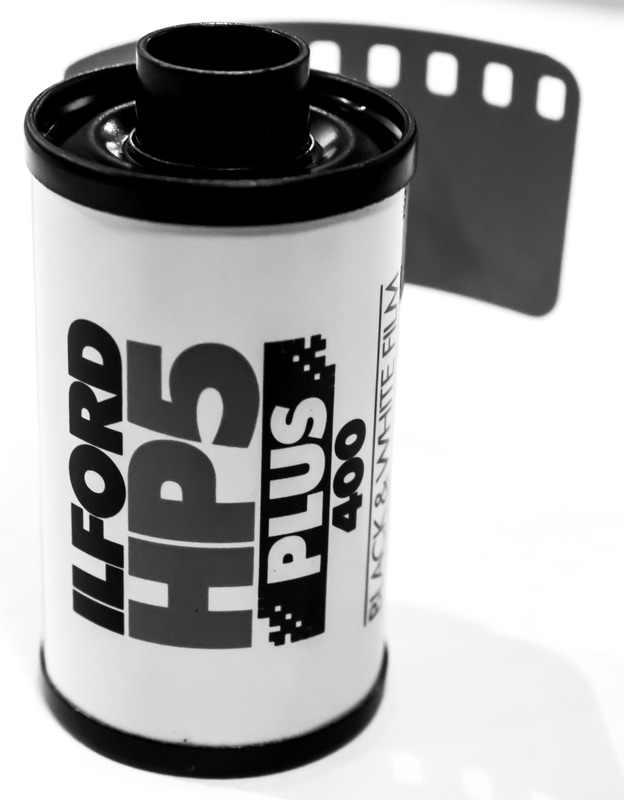
So lets us say that I want to shoot HP5 film (with a recommended ISO of 400) and shoot it at 800iso? The benefit of doing this is that if the day is dark, I get an added stop of light. The downside is more contrast and larger grain size...maybe. Different films will react differently to pushing and pulling. You should always test it out before you use it on important pictures...I have a story here to share later...
So I load HP5 into my camera but instead of setting the camera to 400iso I set it to 800iso. I then shoot normally until the roll is complete. I mark the roll very carefully that it was exposed at 800iso just in case I forget (I always forget). Now the only difference is how we develop the roll. If you send your rolls to a lab just make sure you tell them that you "Pushed" the film to 800iso. |
|
If you develop your own film, read on...Like any good lasagna it all starts with a recipe.
I used Ilford ID-11 as my developer. So I use the Massive Development App and pick HP5 in ID-11 (I like to use it at a 1 to 1 ratio with water). This means that I must leave it in the developer for 16minutes and 30 seconds. If I was to use this same recipe for 400iso I would leave it in the developer for 13 minutes flat. Essentially 3:30 minutes additional developing time gets me the added stop of light. Nothing else changes, just the length of time in the developer. If I wanted to run llford HP5 at 200iso instead of 400 I would have to "Pull" the film. Following the same recipe, I would have to leave the film in the developer for 10 minutes. Again it is about 3 minutes less than the standard 400iso. So the question becomes, why would you push or pull film? There are two answers, one practical and one artistic. On the practical side, it does not make sense to have 4 or 5 different film ISO in your bag when you go out. I usually have a 100iso and a 400iso and then push and pull as needed. This is easier than having many different films, keeping them in stock and learning their "character". |
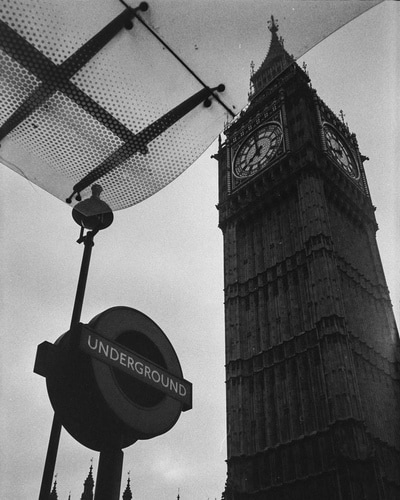
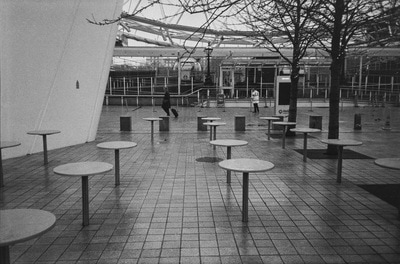
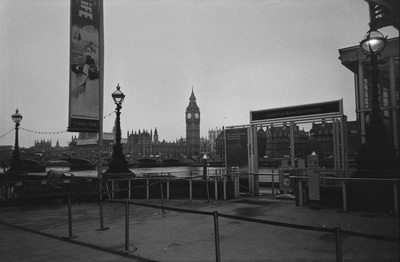
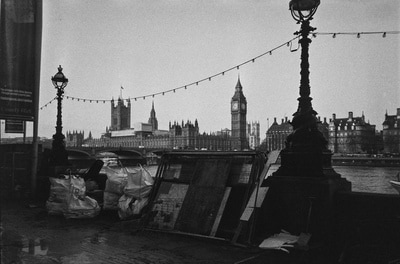
The second reason is artistic. As with anything in photography it is all a matter of personal taste. If you like your images to pop with a bit more contrast, then pushing film might be to your liking. I should warn you that it is worth trying it out a bit. I recently took several rolls of HP5 where I pushed it to 1600iso. I have done this before and I liked the result a great deal. I have even pushed it to 3200iso and enjoyed the results. So I took the camera out with 1600iso, very sure that I knew the results I was going to get. When I developed the film I found my mistake. I had never taken pushed to 1600iso and shot in daylight. I had always pushed because the lighting was dim. I enjoyed the results and decided to use it as my default setting. Unfortunately in direct sunlight there is far too much contrast.
So my recommendation is for you to test the film out in various conditions. Take the same roll and try it in daylight, shadows and dim light. This will give you an idea of where you should use it. Again it is all a matter of taste.
So my recommendation is for you to test the film out in various conditions. Take the same roll and try it in daylight, shadows and dim light. This will give you an idea of where you should use it. Again it is all a matter of taste.
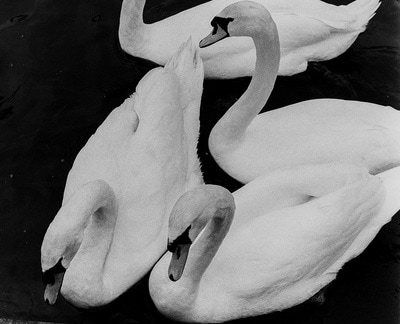
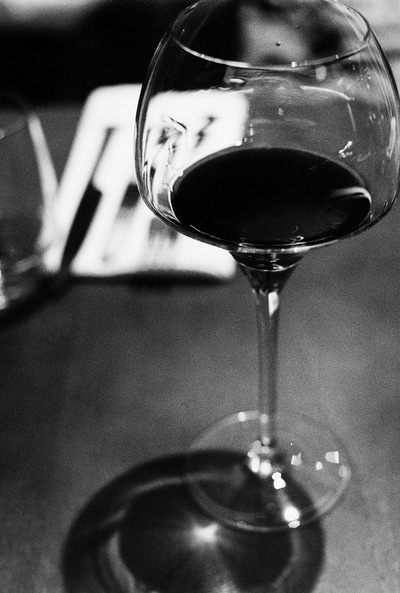
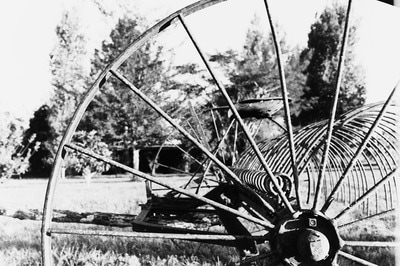
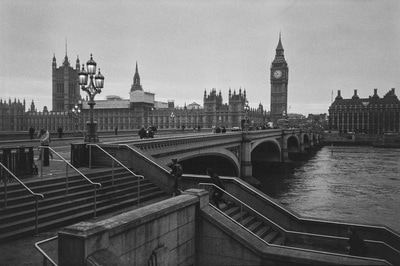
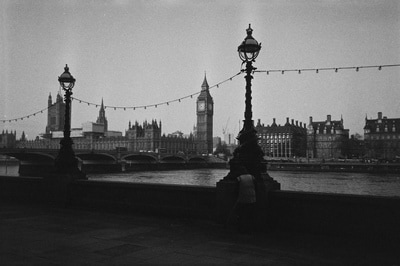
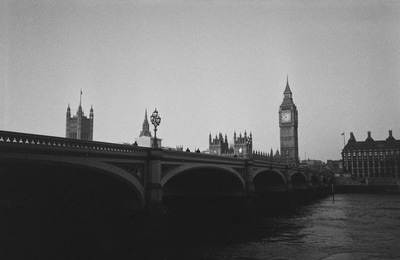
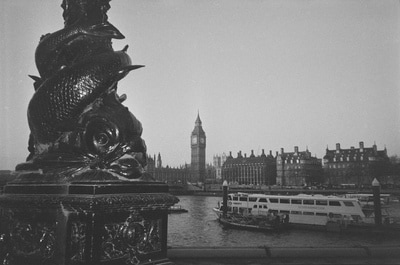
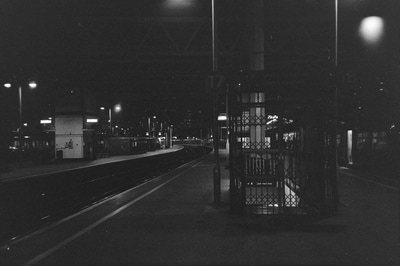
Above are some of the shots I liked with the HP5 pushed to 1600iso. The last picture is an example of this film, pushed and shot in bright light. The picture is of an old rake designed to be pulled behind a horse. As you can see there is a large amount of contrast. On a computer this is wasted but in the darkroom I have had some luck using filters to reduce contrast. It was a lesson learned however.
Below are some shots at 3600iso. Again a large amount of contrast which works on cloudy days.
Below are some shots at 3600iso. Again a large amount of contrast which works on cloudy days.
