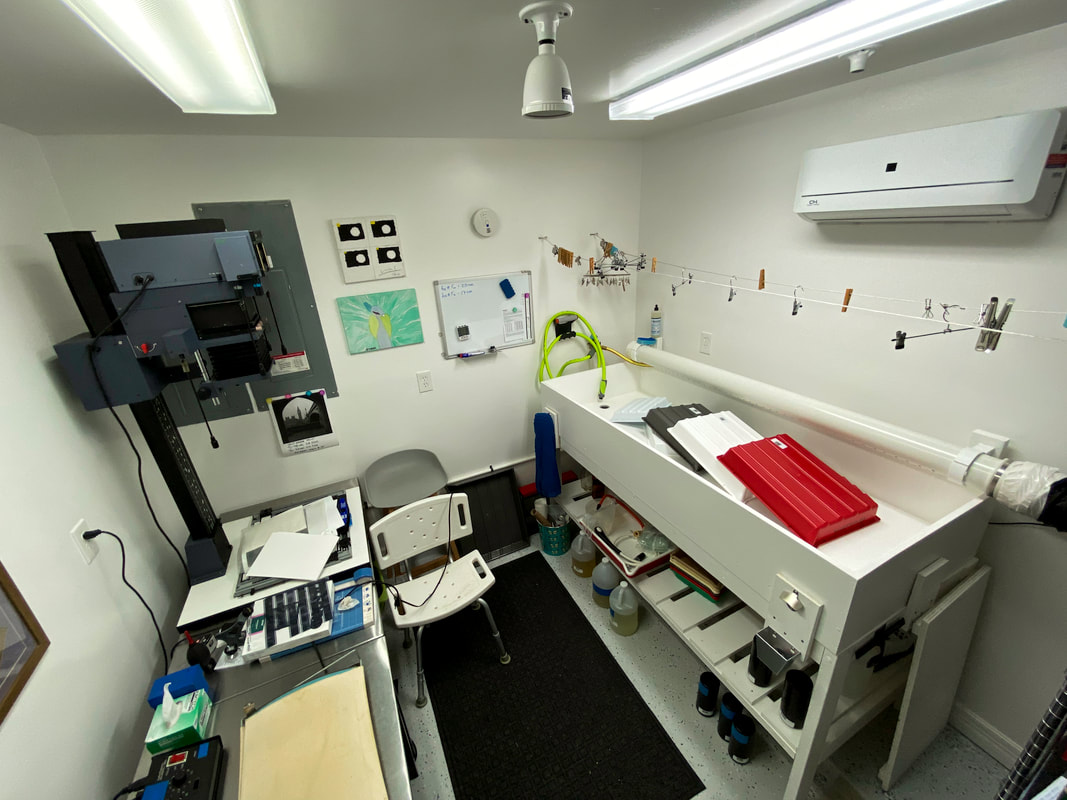
I consider myself more lucky than most in that I get a dedicated, purpose built darkroom. We have just moved back to the US after 18 years living a nomadic, international lifestyle (work related not fun and games) and we bought a house in Houston. It has a large garage that we did not need so I partitioned off 100 square feet for this darkroom.
It is not large but I wanted something where I could easily reach everything I needed. As I began assembling the room in my mind, I kept coming back to the sink. I have never had a large, darkroom style sink. I have usually had no running water in my darkroom and was forced to carry all my material to a different room to wash. This is the single biggest change I have been able to incorporate in it. Here I could easily pipe water into the room so all I had to do was purchase a sink....
This posed a bit of a problem. I was already investing more money than I should have in building this darkroom and the sinks seemed to me a bit too pricy. The cheapest sink I could find, more or less the right size, was $530. It was a little too short and it was not nearly deep enough but might be able to get it to work. My challenge was that this was just the plastic sink, then add the metal base and shipping and I was going to spend a great deal of money on something that was more or less....
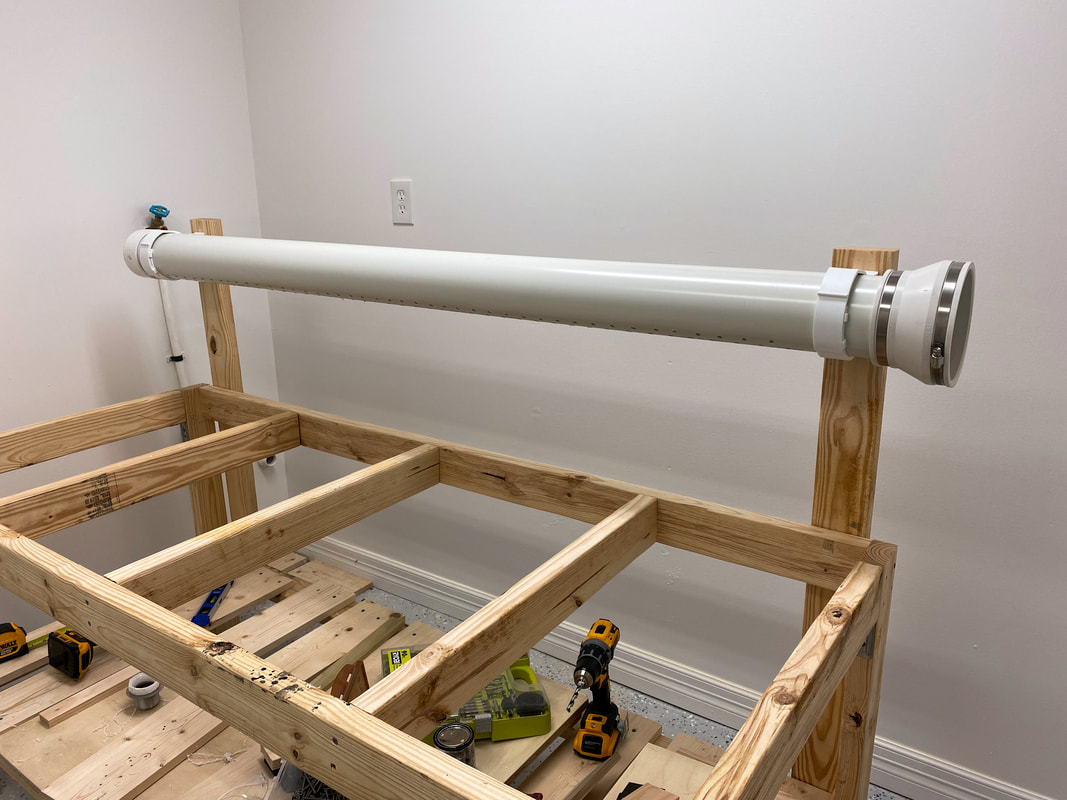
In came YouTube to the rescue. I found a channel HERE where the photographer walks through all the basics of building your own darkroom sink. I took most of his ideas and used them with a few small changed. I followed virtually all steps outlined in this YouTube video with some small changes to the dimensions and the cover material.
|
The base was simple 2x4 that was built carefully using a laser level. This care was due to the fact that the garage is sloped so each of the four legs would have to be a different heights in order to keep it perfectly level. This was achieved by using the laser level on a tripod at the target sink height and marking each leg length. It worked like a charm and the sink is perfectly level.
The slope for drainage would come (just as is seen in the YouTube video) by the bottom of the sink being sloped towards the drain. The big challenge, beyond the slope of the floor, was how to cover the wood to avoid water damage. I spent weeks considering different options. |
I decided to use Flexseal and used two cans to apply five different coats of this rubber paint. Thus far it is working very well. There is however one thing I would have done differently....I would have added a larger slope. As it stands now, there is a half inch slope which is not really sufficient. The sink drains but leaves some puddles that I believe would be resolved with a slope of 1.5 to 2 inches. My plan is to give it a year and see how it holds up. But if once a year I need to add a coat or two of Flexseal I am happy to do so.
|
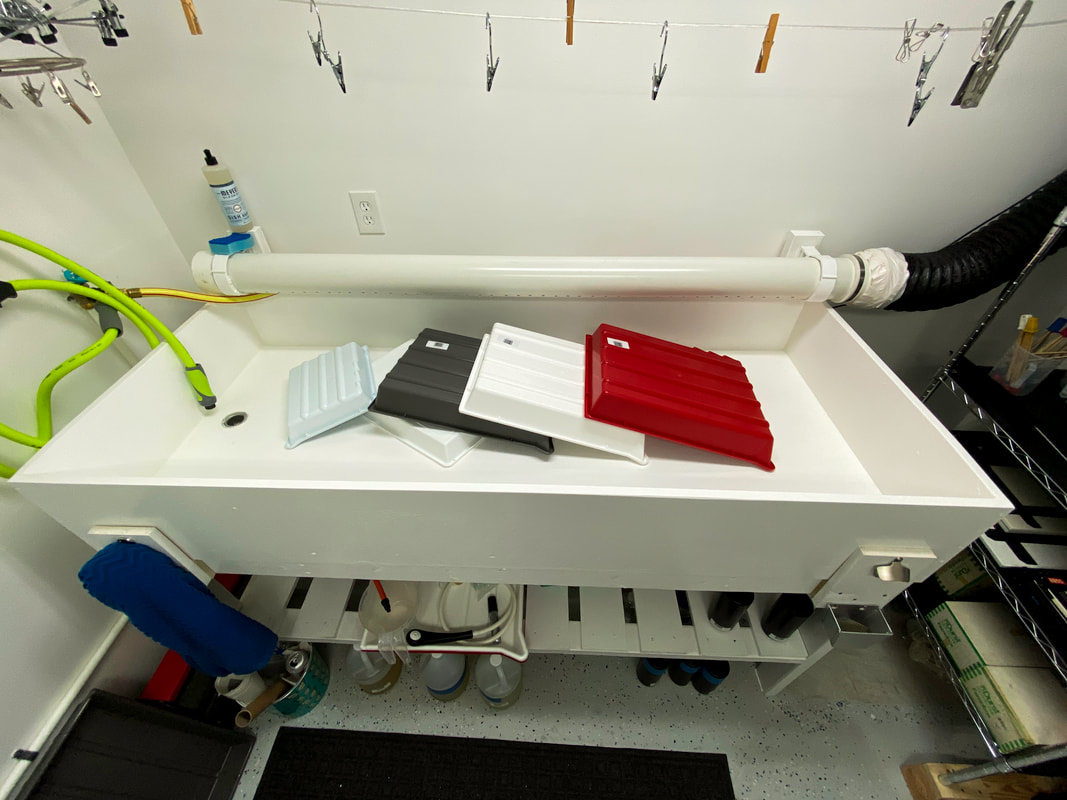
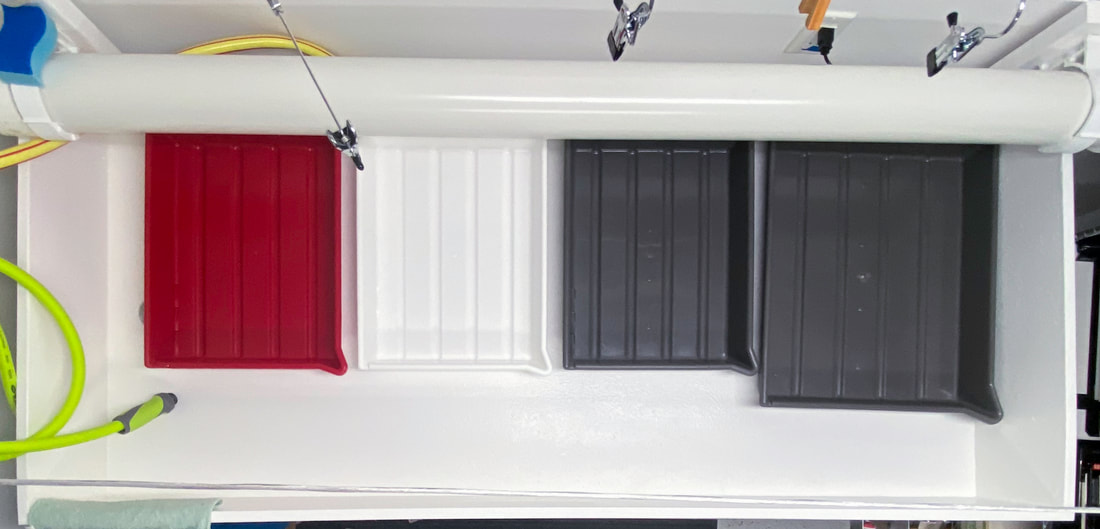
I decided to build the sing a full 74 inches long and 31.5 inches wide. This gives me enough room to put four trays of all the sizes I print in the sink but still keeps it narrow enough for me to easily reach across.
I wanted it to be deep and settled for 8.5 inches deep at one end and 9 inches at the other. This is the ½ inch of slope I built into it. The reason for the depth is to keep any splashes inside and not for any intention of filling it. The sink is sturdy and sits on the base of 2x4. There is storage underneath and a towel hook and bottle opener to complete the setup. |
One thing that you may note is the color of the entire room including the sink. I do not like grey rooms or black and so made everything white. The sink being white, makes it easy to see anything on it and reflects the safelight well. I am careful in my safelight test to ensure that it is very safe to work in and even at 8 minutes of exposure shows no sign of light leaks. My recommendation here is to keep everything in your darkroom bright and control the light in order to keep it safe to work in.


