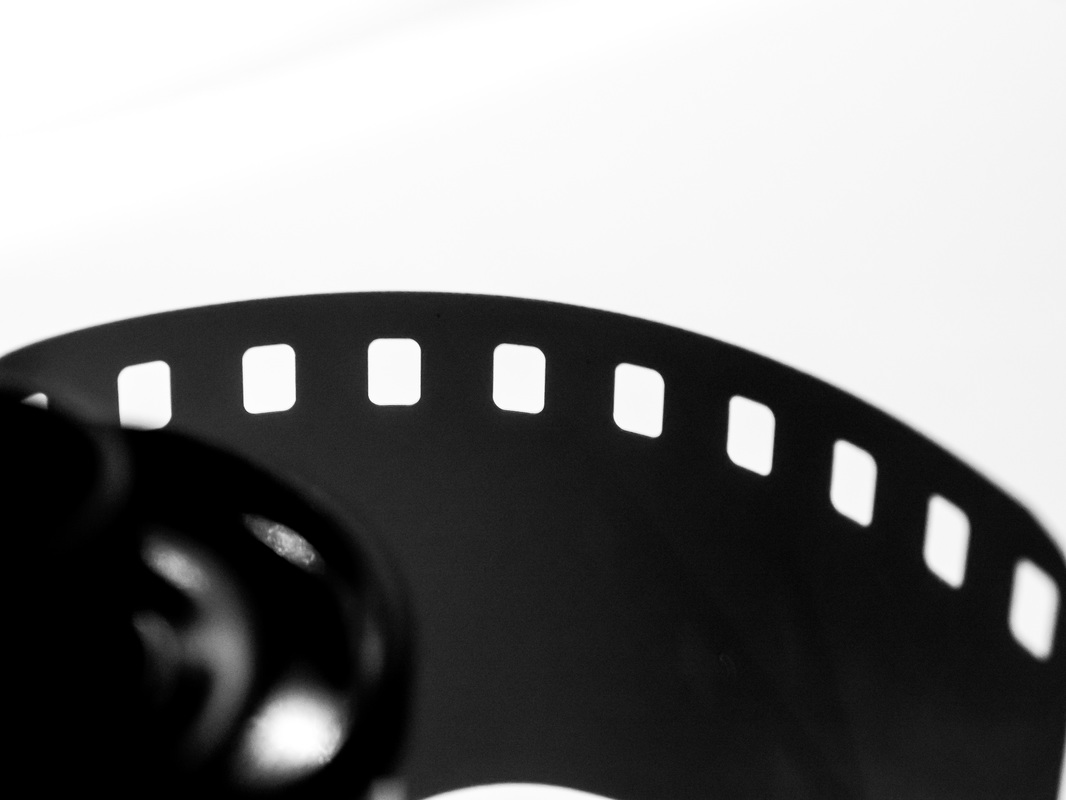
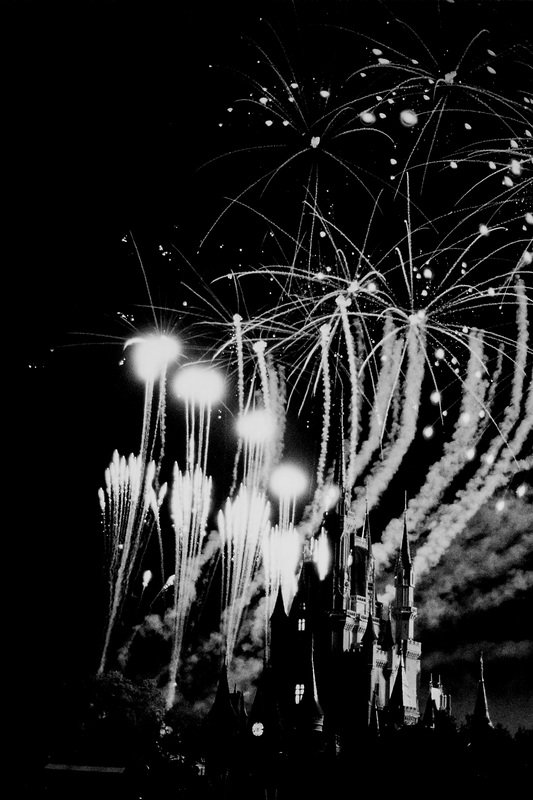
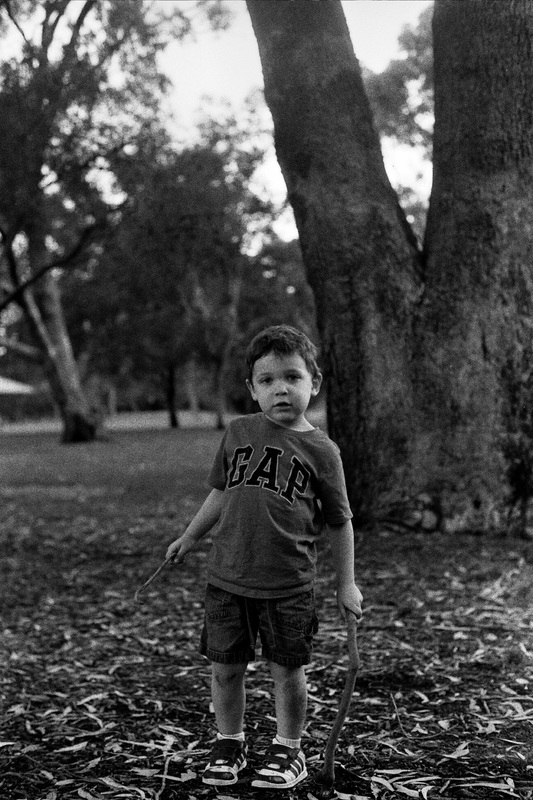
Film photography has been growing in popularity over the last few years. If you do a quick search on YouTube you will find a ton of videos on how different photographers are working to get film into their workflow. Some are exclusive film photographers while others, like me, tend to do a mix between the two. No one can criticize digital photography for its simplicity and ease of use, but occasionally we want a process which is more...analog.
For those considering getting into film photography the initial gap in knowledge can seem a bit overwhelming and the initial results can be disappointing. The fact is that film photography is easy and there are very common mistakes many newcomers make which, if avoided, can improve initial results quickly. This page is dedicated to the things that I wish I had known when I started shooting film.
For those considering getting into film photography the initial gap in knowledge can seem a bit overwhelming and the initial results can be disappointing. The fact is that film photography is easy and there are very common mistakes many newcomers make which, if avoided, can improve initial results quickly. This page is dedicated to the things that I wish I had known when I started shooting film.
|
Equipment:
Do not lose sleep over this step. Do not break the bank. Do not follow the experts and focus on something similar to what you are used to. I suggest a purely manual camera to begin with. Many film cameras of the 1990's are fully automatic but their pictures will soon bore you. Take the leap and get yourself a simple manual SLR. I would suggest Olympus OM-1 or OM-2 or even an OM-10. The OM-1 is a classic, it is small, brilliantly designed and there are plenty of affordable lenses. Just be sure to get the right battery as the OM-1 used a mercury cell which produced 1.3volts which is no longer available. You can get substitutes which cost a bit more and last a little less or find a longer term solution. I would get a 35mm lens (the 50mm f/1.4 is notorious for fungus so be careful here) but any lens that comes with the camera will be just fine. Be sure to get something with a light meter that is working. Trust me this is a very nice tool to have and even today I dislike the added step of using a light meter on my older cameras. Even if it is a bit off you can make allowances for this. But some form of a guide is better than none. Testing: I believe people are too worried here. If you are concerned then purchase the film camera from a reputable shop and ask for one that has recently been serviced. I suggest K&H as they have a great reputation. If you order online you can purchase something sight unseen, just rely on their grading system and have a little faith. |
If you see a nice camera and want to test it then do the following:
- Advance the film. Test the feel here. It should be smooth and the sound should be almost silent movement of gears.
- Test the shutter. Set it at 1 second and test fire. Did that feel like 1 sec? Test it at 1/30th of a second and so forth. After about 1/90th of a second they all start sounding the same. At least you know that the slower speeds are working well.
- Look at the lens and make sure you do not see scratches or fungus. Fungus appears like a white web inside the lens. See my post HERE about it. Do not lose too much sleep about the lens. Unlike digital film is very forgiving and a little scratch or fungus only adds character. Again do not spend too much, get something basic and ideally a prime lens. Skip the zoom for now.
- Open the back and look at the seals. You will see grooves that should have some black felt like material to block out the light. Often times this looks a bit gummy which means the seals need to be replaced. Again nothing to lose sleep over it is cheap to buy and put new seals on yourself.
- Change the aperture and see if the blades look wet. The aperture blades can either stay closed, depending on the lens, or remain open until the shutter is pressed. Either way if you remove the lens you will be able to see a little lever that activates the aperture blades. Move them around and see that all are moving and they are dry.
- Buy a cheap roll of film and load it into the camera. Fire a few shots and check the film advance counter. It should count each frame shot. Again nothing major, I have an OM-2 with a broken frame counter but it still works just fine.
- Hold it up to different light sources and make sure the light meter is working.
|
Development:
You should crawl before you walk. Send your film to be developed. It costs more money but at least you know any errors are with you or the camera and not with your developing technique. Shooting: Look up the camera you got on YouTube and there is bound to be a movie on how to load film and shoot the camera. Use the same exposure rules used for digital. Aperture, shutter speed and film ISO. I like ISO 400 film because it is fast enough to shoot in low light while still having little grain. Don't get too fancy. A key piece of advice is to get a small notebook and take notes of each shot you shoot. I no longer do this but in the first 10 rolls I did and it helped a great deal to understand what was going on. Waste Film: Ok this sounds odd but you need to get over your fear of film. Buy five rolls and burn through them in one afternoon. Try the lens at large apertures, small apertures and different shutter speeds. Shoot a scene in both film and digital using the same settings. Consider this investment as your education into film. Allow yourself to shoot bad pictures as you learn your camera. If you expect every image to "capture the decisive moment" you will frustrate yourself. Give yourself a break and let those five rolls be sacrificial. I still do this when I get a new camera. The first two or three rolls are sacrificial and I do not expect anything from myself. You would be surprised how enjoyable that can be. |
Tricks of the Trade:
To Scan or Not to Scan:
What do you do when you get your negative back? You can either ask for the negatives to be scanned, scan it yourself or build a scanner with a digital camera. I stopped scanning negatives into the computer because I was printing them in the darkroom however I have since gone back to scanning. It is quick and easy way to see which image you want to print in the darkroom.
When you begin ask for a basic scan of your negatives. Most places will do this very inexpensively and will give you a CD with all the pictures scanned. I used to ask for one set of prints, a CD with the scan and the negatives back. I then had the prints to look through, the scans to send to family and the negatives to take into the darkroom once I was ready to.
Friendly Sites:
Here is a novice speaking about his OM-2n. See the video HERE.
Here Ted Forbes speaks about 35mm cameras. See it HERE.
Here is a generic 35mm film loading. See it HERE.
Here is David again loading 35mm film. See it HERE.
This is a fun video on shooting 35mm film...a great way to get over your fear. See it HERE.
- With each film advance the film winder should turn. This tells you the film is loaded properly.
- Film is more forgiving with regards to camera shake. Do not be afraid to drop it to 1/15th of second. Digital cameras may not forgive such slow shutter speeds hand held but film will.
- Use a prime lens and get low to the ground. You would be surprised at how a typical scene becomes more interesting when you change the angle.
- Do not advance the film until you are ready to shoot the next frame. Most cameras are under tension when the shutter is cocked and this will harm the camera in the long run. By advancing the film only when you are ready for the next shot you will protect the mechanism and will quickly work it into a useful workflow.
- There is rarely a need to take two pictures of a single scene unless you are changing the composition. With digital we get used to taking more than one shot. With film, take your time, compose properly and shoot a single shot per composition. Sometimes someone will blink but this is better than having a ton of repeated shots.
- Do not lose sleep over reciprocity. I have shot at night successfully and just shoot as per my light meter or I guess. Film is forgiving so again give yourself a break and have some fun.
To Scan or Not to Scan:
What do you do when you get your negative back? You can either ask for the negatives to be scanned, scan it yourself or build a scanner with a digital camera. I stopped scanning negatives into the computer because I was printing them in the darkroom however I have since gone back to scanning. It is quick and easy way to see which image you want to print in the darkroom.
When you begin ask for a basic scan of your negatives. Most places will do this very inexpensively and will give you a CD with all the pictures scanned. I used to ask for one set of prints, a CD with the scan and the negatives back. I then had the prints to look through, the scans to send to family and the negatives to take into the darkroom once I was ready to.
Friendly Sites:
Here is a novice speaking about his OM-2n. See the video HERE.
Here Ted Forbes speaks about 35mm cameras. See it HERE.
Here is a generic 35mm film loading. See it HERE.
Here is David again loading 35mm film. See it HERE.
This is a fun video on shooting 35mm film...a great way to get over your fear. See it HERE.
